Introduction
This article is your roadmap to success, showing you how to choose the perfect space for your creative projects, master lighting techniques, and use backgrounds and props for maximum impact.
Preparation is key – get valuable tips to optimize your preparation for every shoot, and expand your horizons with advanced techniques and creative ideas that will shape your photographic work.
The Basics of Studio Photography
Before you embark on your first photo shoot in the studio, it’s crucial to understand the basics of studio photography. This includes not only selecting the right camera and lenses but also knowing how to handle tripods, lighting equipment, light modifiers, diffusers, reflectors, backgrounds, and image editing software.
Essential Equipment
- Camera and Lenses: Choose a camera and lenses that meet your artistic requirements.
- A stable tripod prevents blurring and enables precise shots.
- Lighting: Use a combination of strobe lights and electronic flashes to create the desired atmosphere.
- Light Modifiers and Diffusers Modify the light to create soft shadows and contours.
- Reflectors: Use reflectors to direct and balance light selectively.
- Backgrounds: Choose backgrounds that showcase your subjects optimally.
- Image Editing Software: Professional software is essential for post-processing your shots.
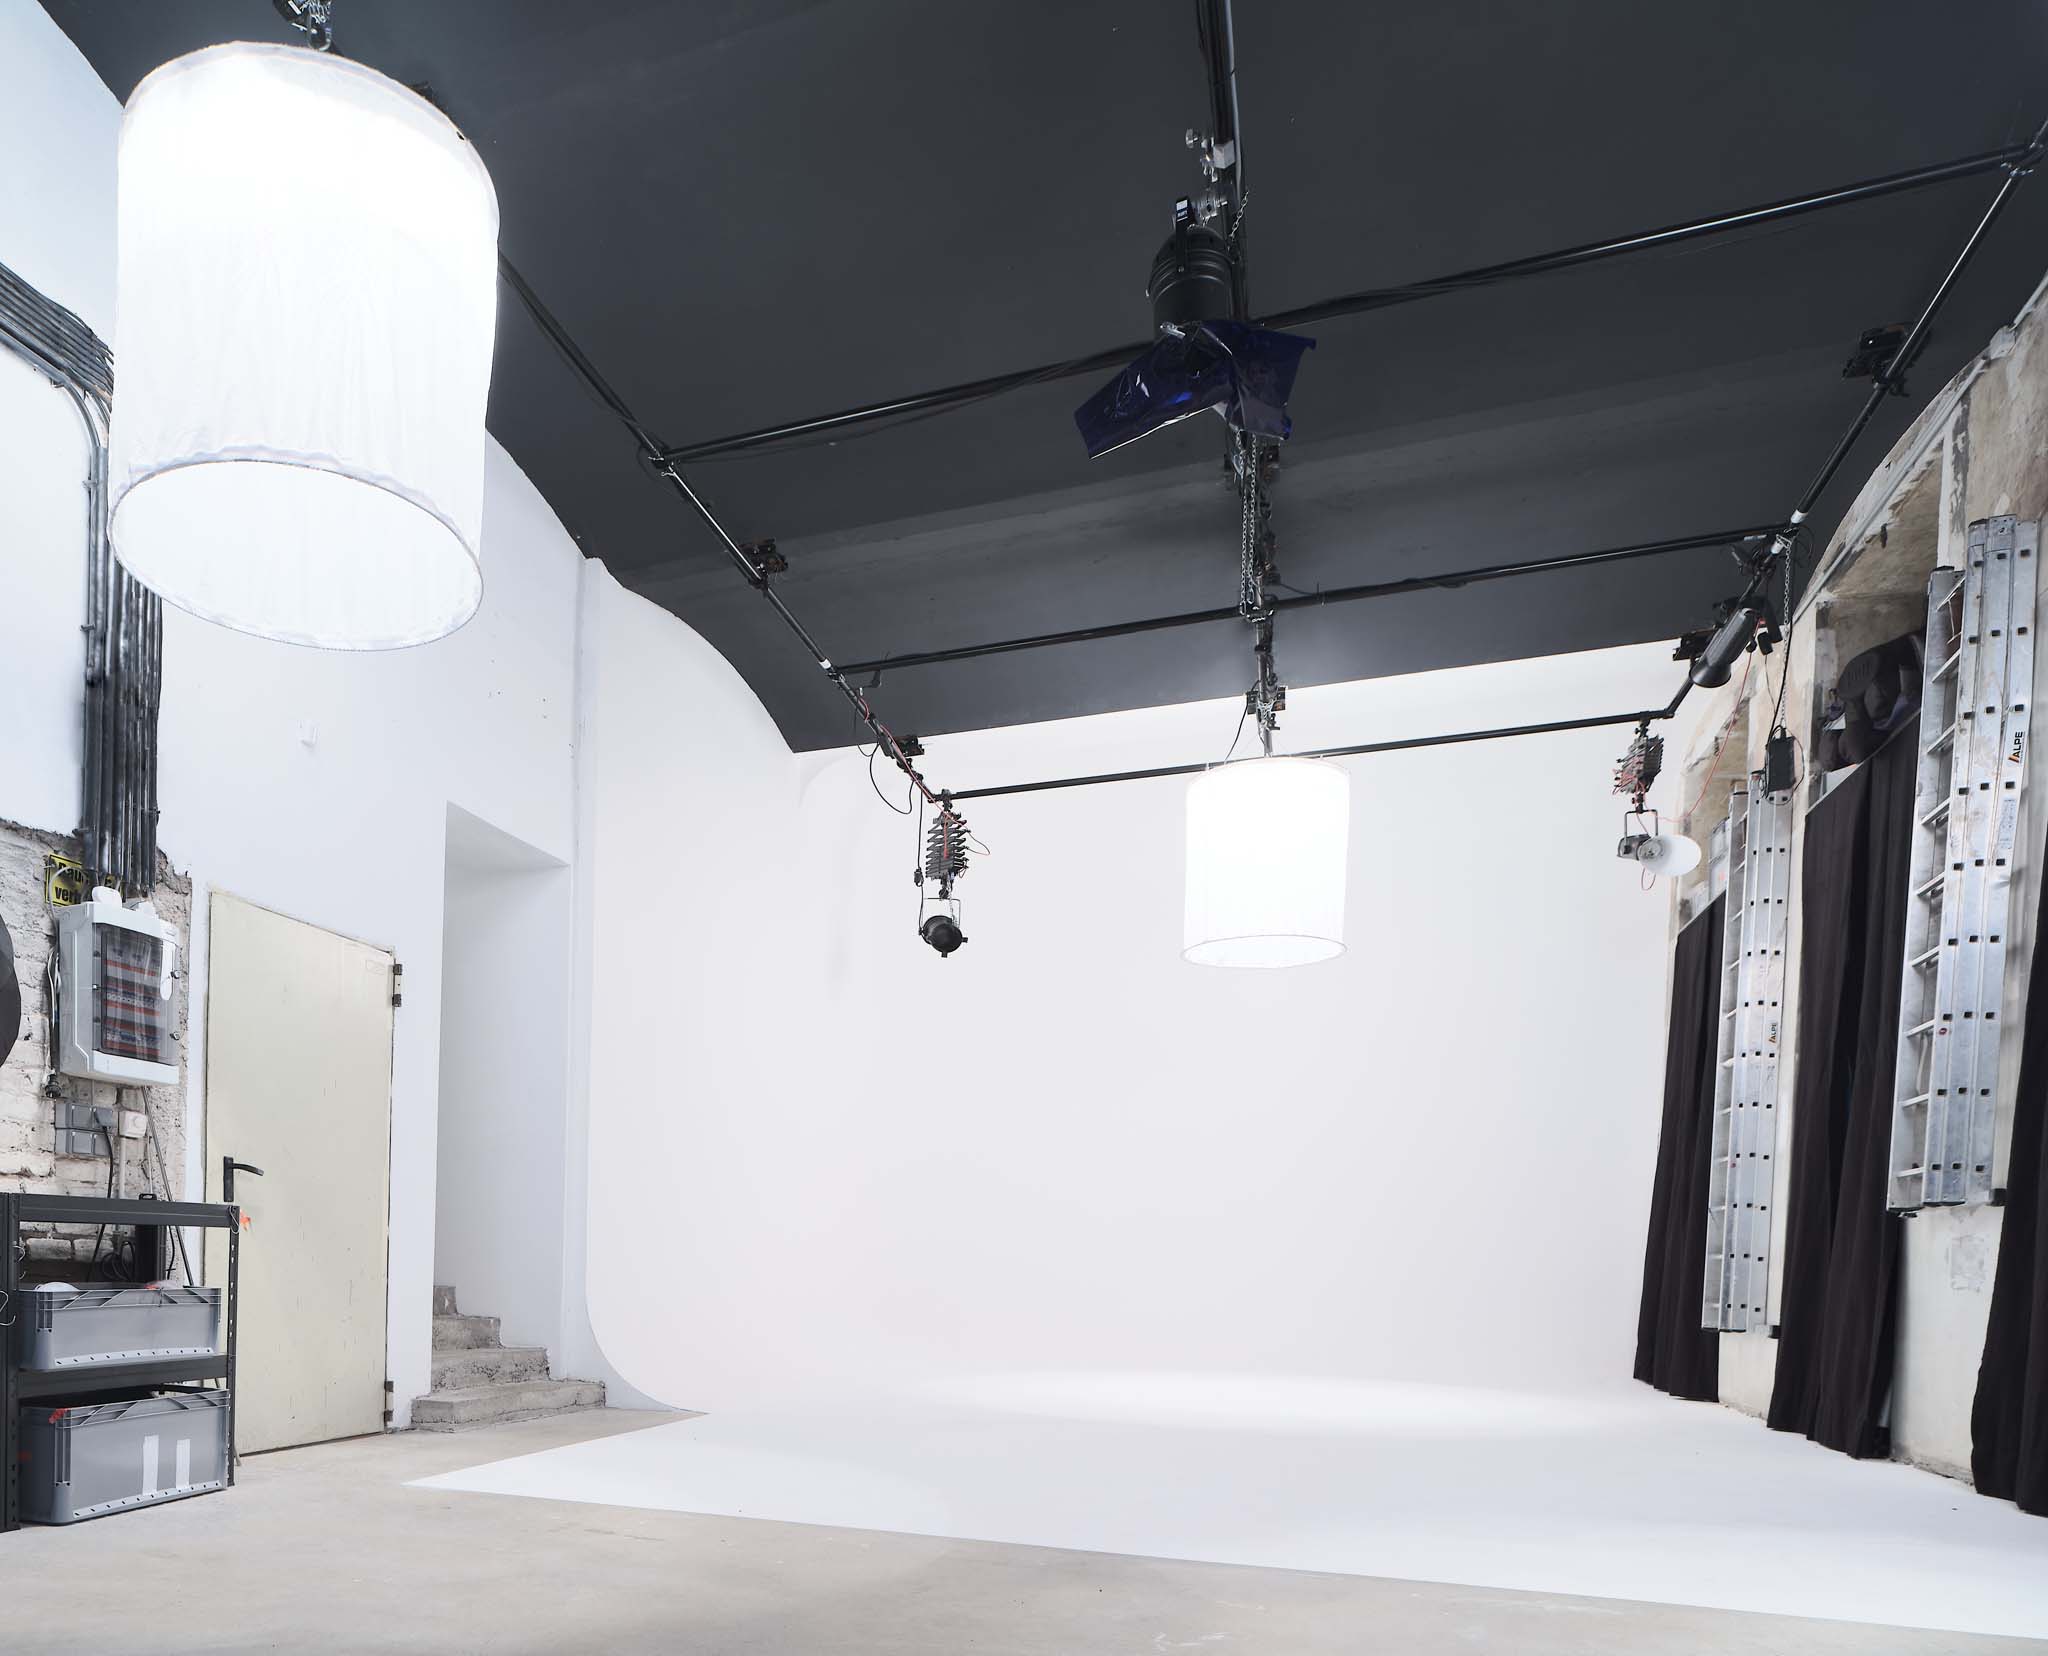
Selecting the right space and planning the light sources are as important as setting up the equipment. A professional photo studio should harmonize with your artistic concept and provide all necessary tools.
An excellent resource for deepening these basics is the book “Fotografieren im Studio – Das umfassende Handbuch” by Michael Papendieck. It extensively covers topics such as studio setup, lighting equipment and settings, and common mistakes to avoid.
Workshops like the one offered by Werner Harrer provide practical experience, from camera settings to light modifiers to communicating with models.
By weighing the advantages and challenges of studio photography against other styles, you’ll prepare yourself optimally for your shoot. Pay attention to the right equipment, camera settings, light characterization, image composition, and communication with your models.
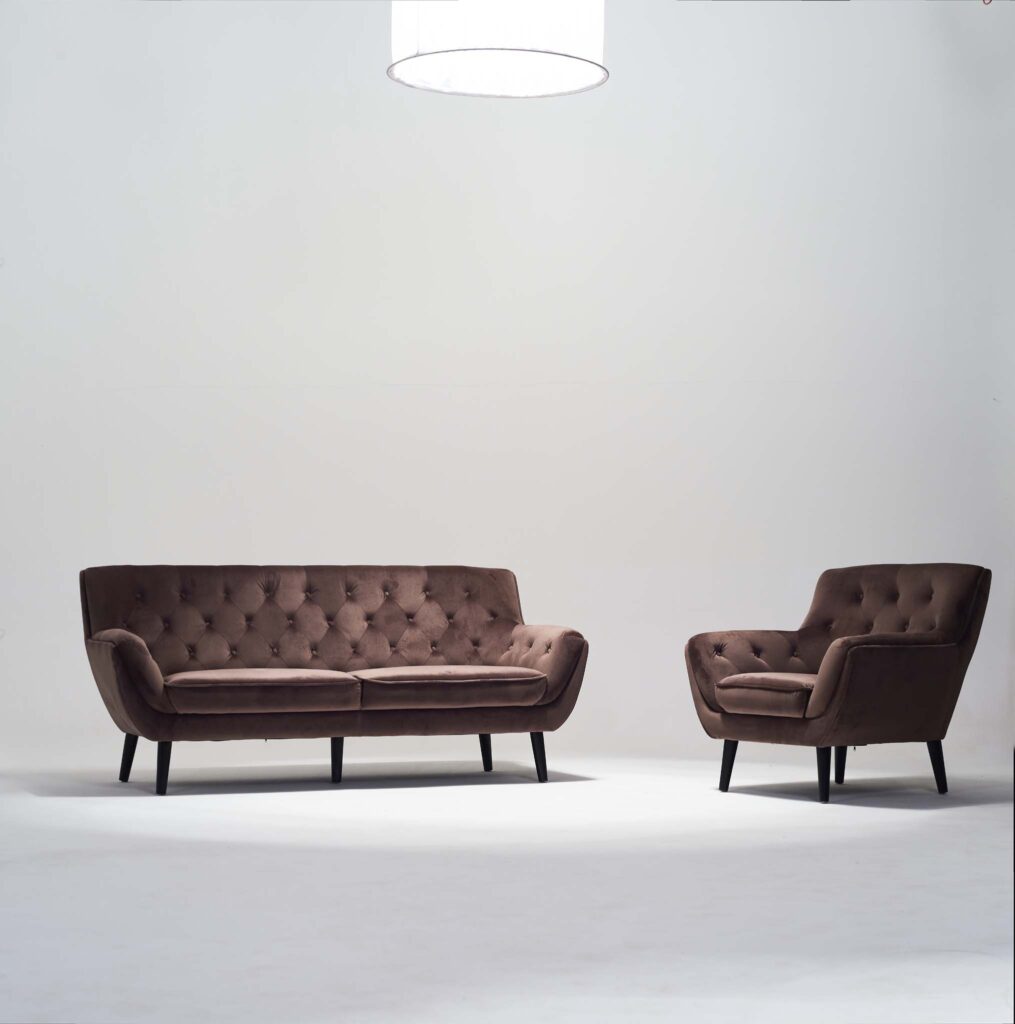
Choosing the Right Space
When choosing the right space for your photo studio, proceed with care, as the environment plays a crucial role in the quality of your work. Here are some points to consider:
- Room Size and Ceiling Height:
- Ensure that the room is at least 3.5 meters wide. This allows you to use standard-sized background rolls and provides enough space for your lighting equipment.
- A high ceiling is advantageous as it offers more flexibility in choosing shooting angles and placing equipment.
- Lighting and Power Supply:
- Ideally, your photo studio should have natural light; if not, consider investing in artificial light sources such as LED panels or strobe lights.
- Ensure that there are enough power outlets to support all your lighting fixtures.
- Walls, Floor, and Background Systems:
- Choose a neutral color for the walls or install a background system to have flexibility in designing your backgrounds.
- A smooth and level floor is best suited for studio photography.
- Organization and Comfort:
- Plan ample space for storing and setting up your equipment.
- Keep your studio organized and free of clutter to ensure a smooth workflow.
- Consider the comfort of your subjects by providing adequate seating and temperature control.
- Cost:
- Don’t forget to consider the costs of equipment, consumables, and necessary renovations when choosing a studio space.
By considering these aspects, you’ll create a solid foundation for your photo studio and ensure that it meets your photographic requirements, whether it’s for portraits, product photos, or still life.
Photography
Mastering Lighting in the Studio
To master the lighting in your photo studio, it’s important to understand the basics of light and how it influences your shots. Here are some tips for handling various light sources and modifiers:
- Light Sources:
- Continuous Light: Ideal for beginners as you can see the result immediately.
- Strobe Light: Offers high power and is perfect for dynamic or moving subjects.
- LED Lighting: Energy-efficient and with adjustable brightness, suitable for video and product photography.
- Light Modifiers:
- Softboxes and Octaboxes: Create soft, diffused light for natural results.
- Umbrellas and Reflectors: Direct the light and help minimize harsh shadows.
- Snoots and Hair Lights: Provide targeted accents and emphasize details.
- Lighting Setups:
- Three-Point Lighting: Combines key light, fill light, and background light for balanced exposure.
- Product Photography: Use soft light to reduce shadows and highlight product details.
Experiment with the positioning of these light sources to achieve different effects. A light meter can help you find the correct exposure, while playing with techniques like low-key and high-key lighting can create unique moods. Here are some advanced techniques:
- Flash Techniques:
- Slave Function: Allows simultaneous triggering of multiple flashes by a master flash.
- High-Speed Sync (HSS): Allows the use of flash at any shutter speed.
- Slow Sync: Balances flash and ambient light in low-light situations.
- Multiple External Flash Units:
- Use a ratio controller to control the light and create more interesting shadows and contours.
By utilizing these techniques and tools, you can achieve creative and high-quality images in your photo studio. With the right equipment and practice, you’ll soon master the lighting in your photo studio and elevate your photographic skills to the next level.
Using Backgrounds and Props Effectively
In studio photography, backgrounds and props are not just simple elements of the setup but essential tools to bring your creative visions to life. It’s important to choose and use these elements thoughtfully:
- Backgrounds:
- Paper Backgrounds: These offer a wide range of colors and are ideal for consistent looks.
- Chromakey: Perfect for digital post-production where you want to replace the background.
- Themed Backgrounds: Add targeted accents and create moods that match your subject.
- Gradient Backgrounds: Ideal for creating a seamless transition and depth effect.
- Roll-Up Backgrounds: These are particularly convenient as they are easily transportable and quick to set up – perfect for studio photographers who want to remain flexible.
- Props:
- Size and Scaling: Ensure that the props are proportional to the subject and background and do not create distraction.
- Color Coordination: The colors of your props should harmonize with those of the background and subject to create a coherent image.
- Narrative and Message: Choose props that tell a story or convey a message to add depth to your shots.
Lighting plays a critical role in how backgrounds and props will appear in the final image. The position and intensity of the light can significantly influence the appearance.
Experiment with different light sources and modifiers to achieve the desired mood. It’s helpful to always keep the end goal of your photographic work in mind and how each element contributes to the overall aesthetic.
With these considerations and the proper use of backgrounds and props, your studio images will not only be professional but also unique.
“Tips for preparing for the shoot
To ensure that your photo shoot in the studio runs smoothly and successfully, thorough preparation is essential. Here are some important tips to keep in mind:
Personal preparation:
- Start the shoot without makeup, only apply a day cream.
- Clean your face thoroughly to remove makeup residue, especially around the eyes.
- Wash your hair fresh and avoid hairspray or gel to maintain naturalness.
- Do not sunbathe or tan two days before the shoot to avoid redness or burns.
Clothing and styling:
- Wear loose clothing for the shoot to prevent imprints on the skin.
- Remove all tags and labels from your clothing.
- Plan a mini fashion show to find the best combinations and see if anything is missing.
- For portrait shots, 4-6 outfits are ideal, ranging from casual-chic to elegant. Solid-colored clothing usually looks better in photos than patterned clothing.
Communication and expression:
- Communicate openly with the photographer about your expectations and be open to their expertise and guidance.
- Practice poses and facial expressions in front of a mirror to control your expressions and feel confident.
- Trust that you will look best in outfits in which you feel comfortable and confident.
By following these tips and taking the time to prepare, you can ensure that your photos in the studio not only look professional but also reflect your personality.”
